Looking to move your website from WordPress to Webflow? This guide breaks down the process into simple steps: understanding platform differences, backing up and exporting your content, and setting up your new Webflow site. Follow along to ensure a smooth and successful migration.
Key Takeaways
- Understanding the key differences between WordPress and Webflow is essential for a smooth migration, focusing on content management versus visual design.
- Backing up your WordPress site and selecting a reliable hosting provider are critical first steps to ensure a successful migration process.
- Post-migration, thorough testing, URL updates, and a full site audit are necessary to maintain functionality and optimize the new Webflow site.
Understanding the Basics of WordPress and Webflow

Understanding the fundamental differences between WordPress and Webflow is crucial before starting the migration process. WordPress is a content management system (CMS) widely used for creating various types of websites, from personal blogs to large corporate sites. WordPress is famous for its robust blogging tools and a wide range of plugins that enhance its functionality.
On the other hand, Webflow is a no-code website builder that focuses on visual design, allowing users to create stunning websites through a drag-and-drop interface. The key difference lies in their focus: WordPress excels in content management, while Webflow shines in visual design and customization.
What is a WordPress Site?

A WordPress site is incredibly versatile and can be used for a wide range of purposes. Whether you’re running a personal blog, a business website, an e-commerce store, or a portfolio, WordPress offers the tools and flexibility you need for WordPress sites. Its powerful blogging capabilities make it a popular choice for both individual bloggers and large corporations like Microsoft.
With WordPress, you have access to thousands of WordPress plugin that can enhance your site’s functionality, from SEO tools to e-commerce solutions. The platform’s extensive customization options and robust community support make it an excellent choice for anyone looking to build and manage a WordPress website.
What is a Webflow Site?
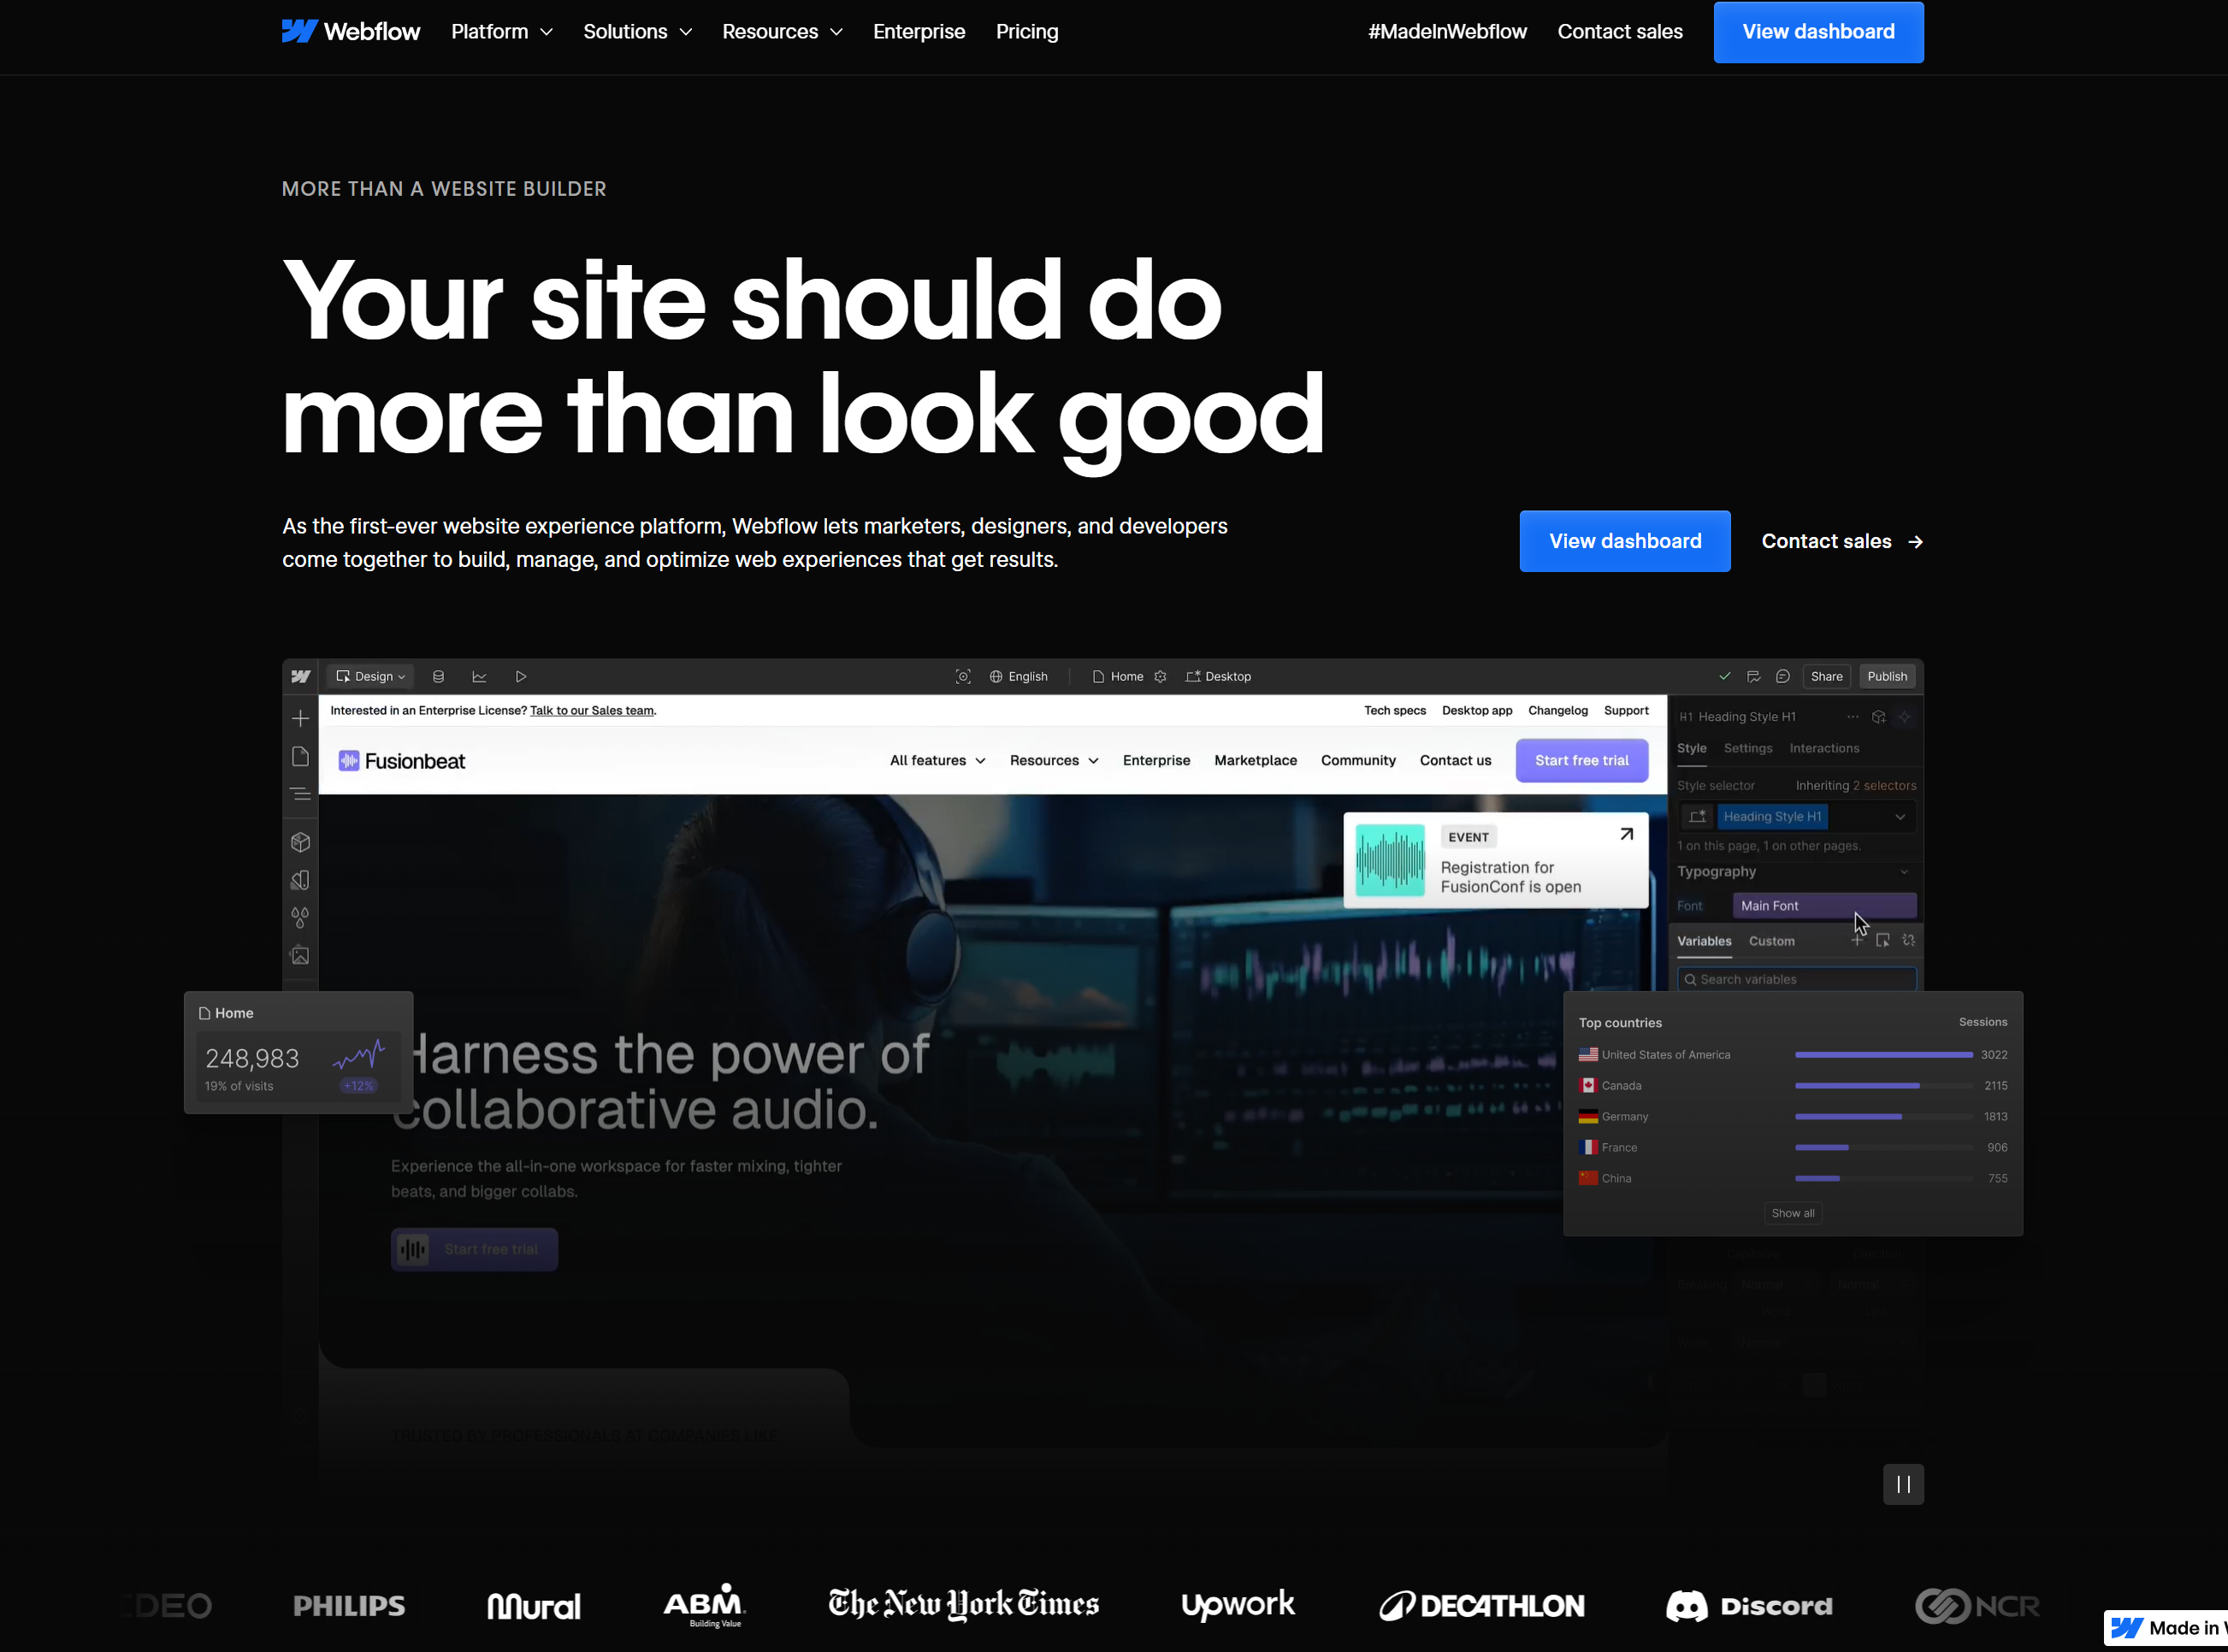
A Webflow site is designed with a strong emphasis on visual appeal and customization. Unlike WordPress, Webflow allows you to create websites without any coding knowledge, thanks to its intuitive drag-and-drop interface. This makes it accessible to users who may not have extensive technical skills but still want a professional-looking website.
Webflow’s CMS enables users to manage dynamic content by creating collections, such as blog posts or product listings, which can be easily imported and structured. Additionally, the templates available in Webflow are crafted by professional designers, ensuring that your site maintains a high-quality visual standard.
Preparing for Migration: Initial Steps
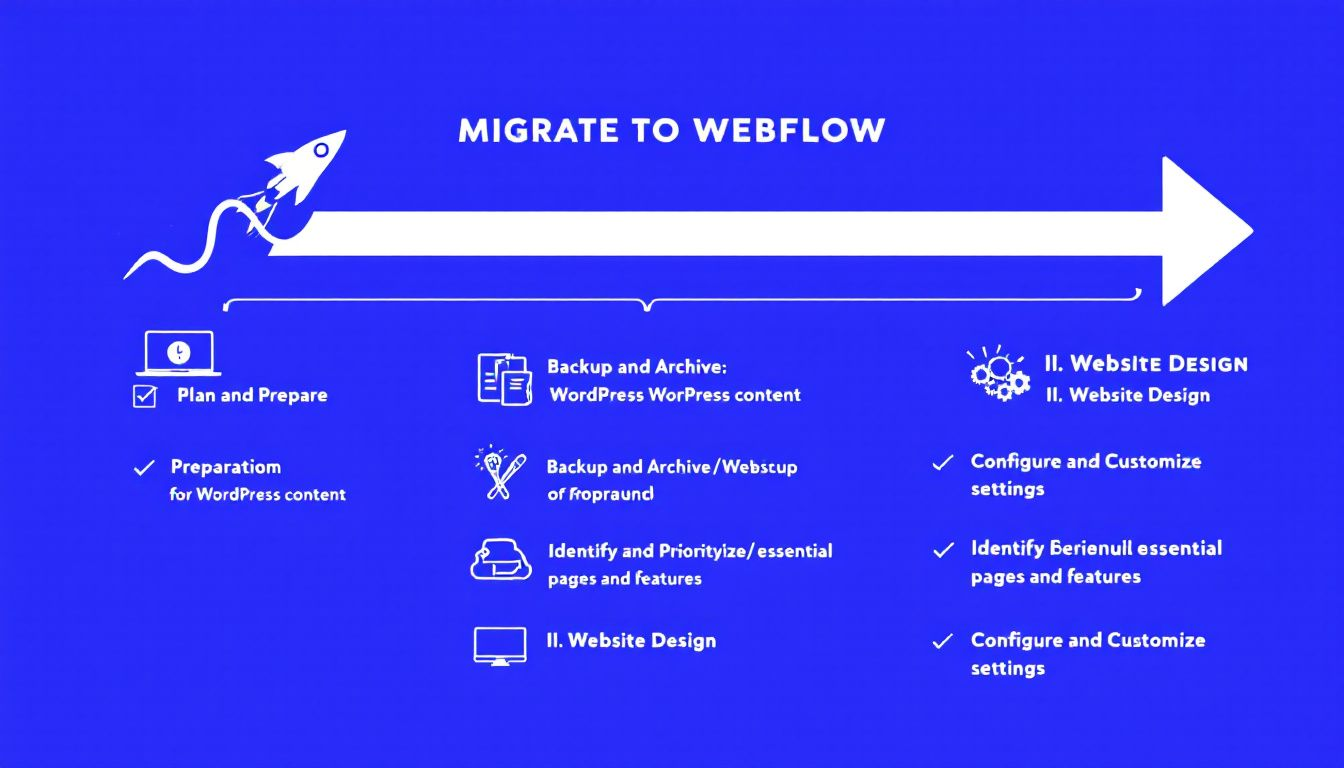
Before embarking on the migration process, it’s crucial to take some preliminary steps to ensure a smooth transition. These steps include backing up your WordPress site and choosing a new hosting provider that meets your needs. Proper preparation will help you avoid potential issues and make the migration process as seamless as possible.
Backup Your WordPress Site
Backing up your WordPress site is an essential step before starting to migrate your WordPress. This ensures that all your site files and the database are preserved in case anything goes wrong during the migration. You can use a reliable backup plugin like UpdraftPlus, which allows for automated backups and easy restoration.
For those who prefer a manual approach, you can use an FTP client like FileZilla to download your website files and phpMyAdmin to export your site’s database. This method involves downloading the entire WordPress directory, including media files, to ensure that all content is backed up.
Choose a New Hosting Provider
Selecting a new host hosting provider is a critical step in the migration process. Look for hosting providers that offer a smooth migration process as part of their services to ease the transition. Evaluate the scalability of the provider to ensure your site can handle future growth and increased traffic.
It’s also important to read reviews about prospective hosting companies to get insights into their reliability and customer service. Make sure the provider offers robust security measures, like SSL certificates, to safeguard sensitive user data.
Choosing a provider solely based on low costs can compromise performance and service quality.
Exporting Content from WordPress
Exporting content from your WordPress site is a crucial step in the migration process. This guarantees the transfer of all your essential data, including posts, pages, and other content, to your new platform.
WordPress provides built-in features that make this process straightforward and efficient.
Using the Export Method
WordPress includes a user-friendly export tool for exporting your site’s content. Navigate to Tools » Export and select the ‘All Content’ option to generate an XML file that includes posts, pages, comments, and more. This method simplifies the transition of your content to the new Webflow site.
The export tool also allows you to export content based on specific criteria, such as date range or post status, giving you control over what gets transferred. However, it’s important to note that themes and plugins are not included in the export file.
Manual Export
For a more hands-on approach, you can manually export your WordPress content. This involves downloading your WordPress files using an FTP client and exporting the WordPress database through phpMyAdmin and a php file. Combining manual methods with plugins guarantees a more comprehensive backup solution.
This method requires a bit of technical know-how but offers flexibility in what you choose to export. Downloading the site’s database files to your local system ensures that you have a complete copy of your old site’s data.
Setting Up Your New Webflow Project
Once you have exported your content, the next step is to set up your new Webflow project. Webflow simplifies this process by combining website building and hosting into a single platform, making it accessible even for users without coding skills.
Create a New Webflow Project
To start a new project in Webflow, you can either select a template or begin with a blank canvas, allowing for tailored designs. This flexibility enables you to customize your site according to your specific needs and preferences.
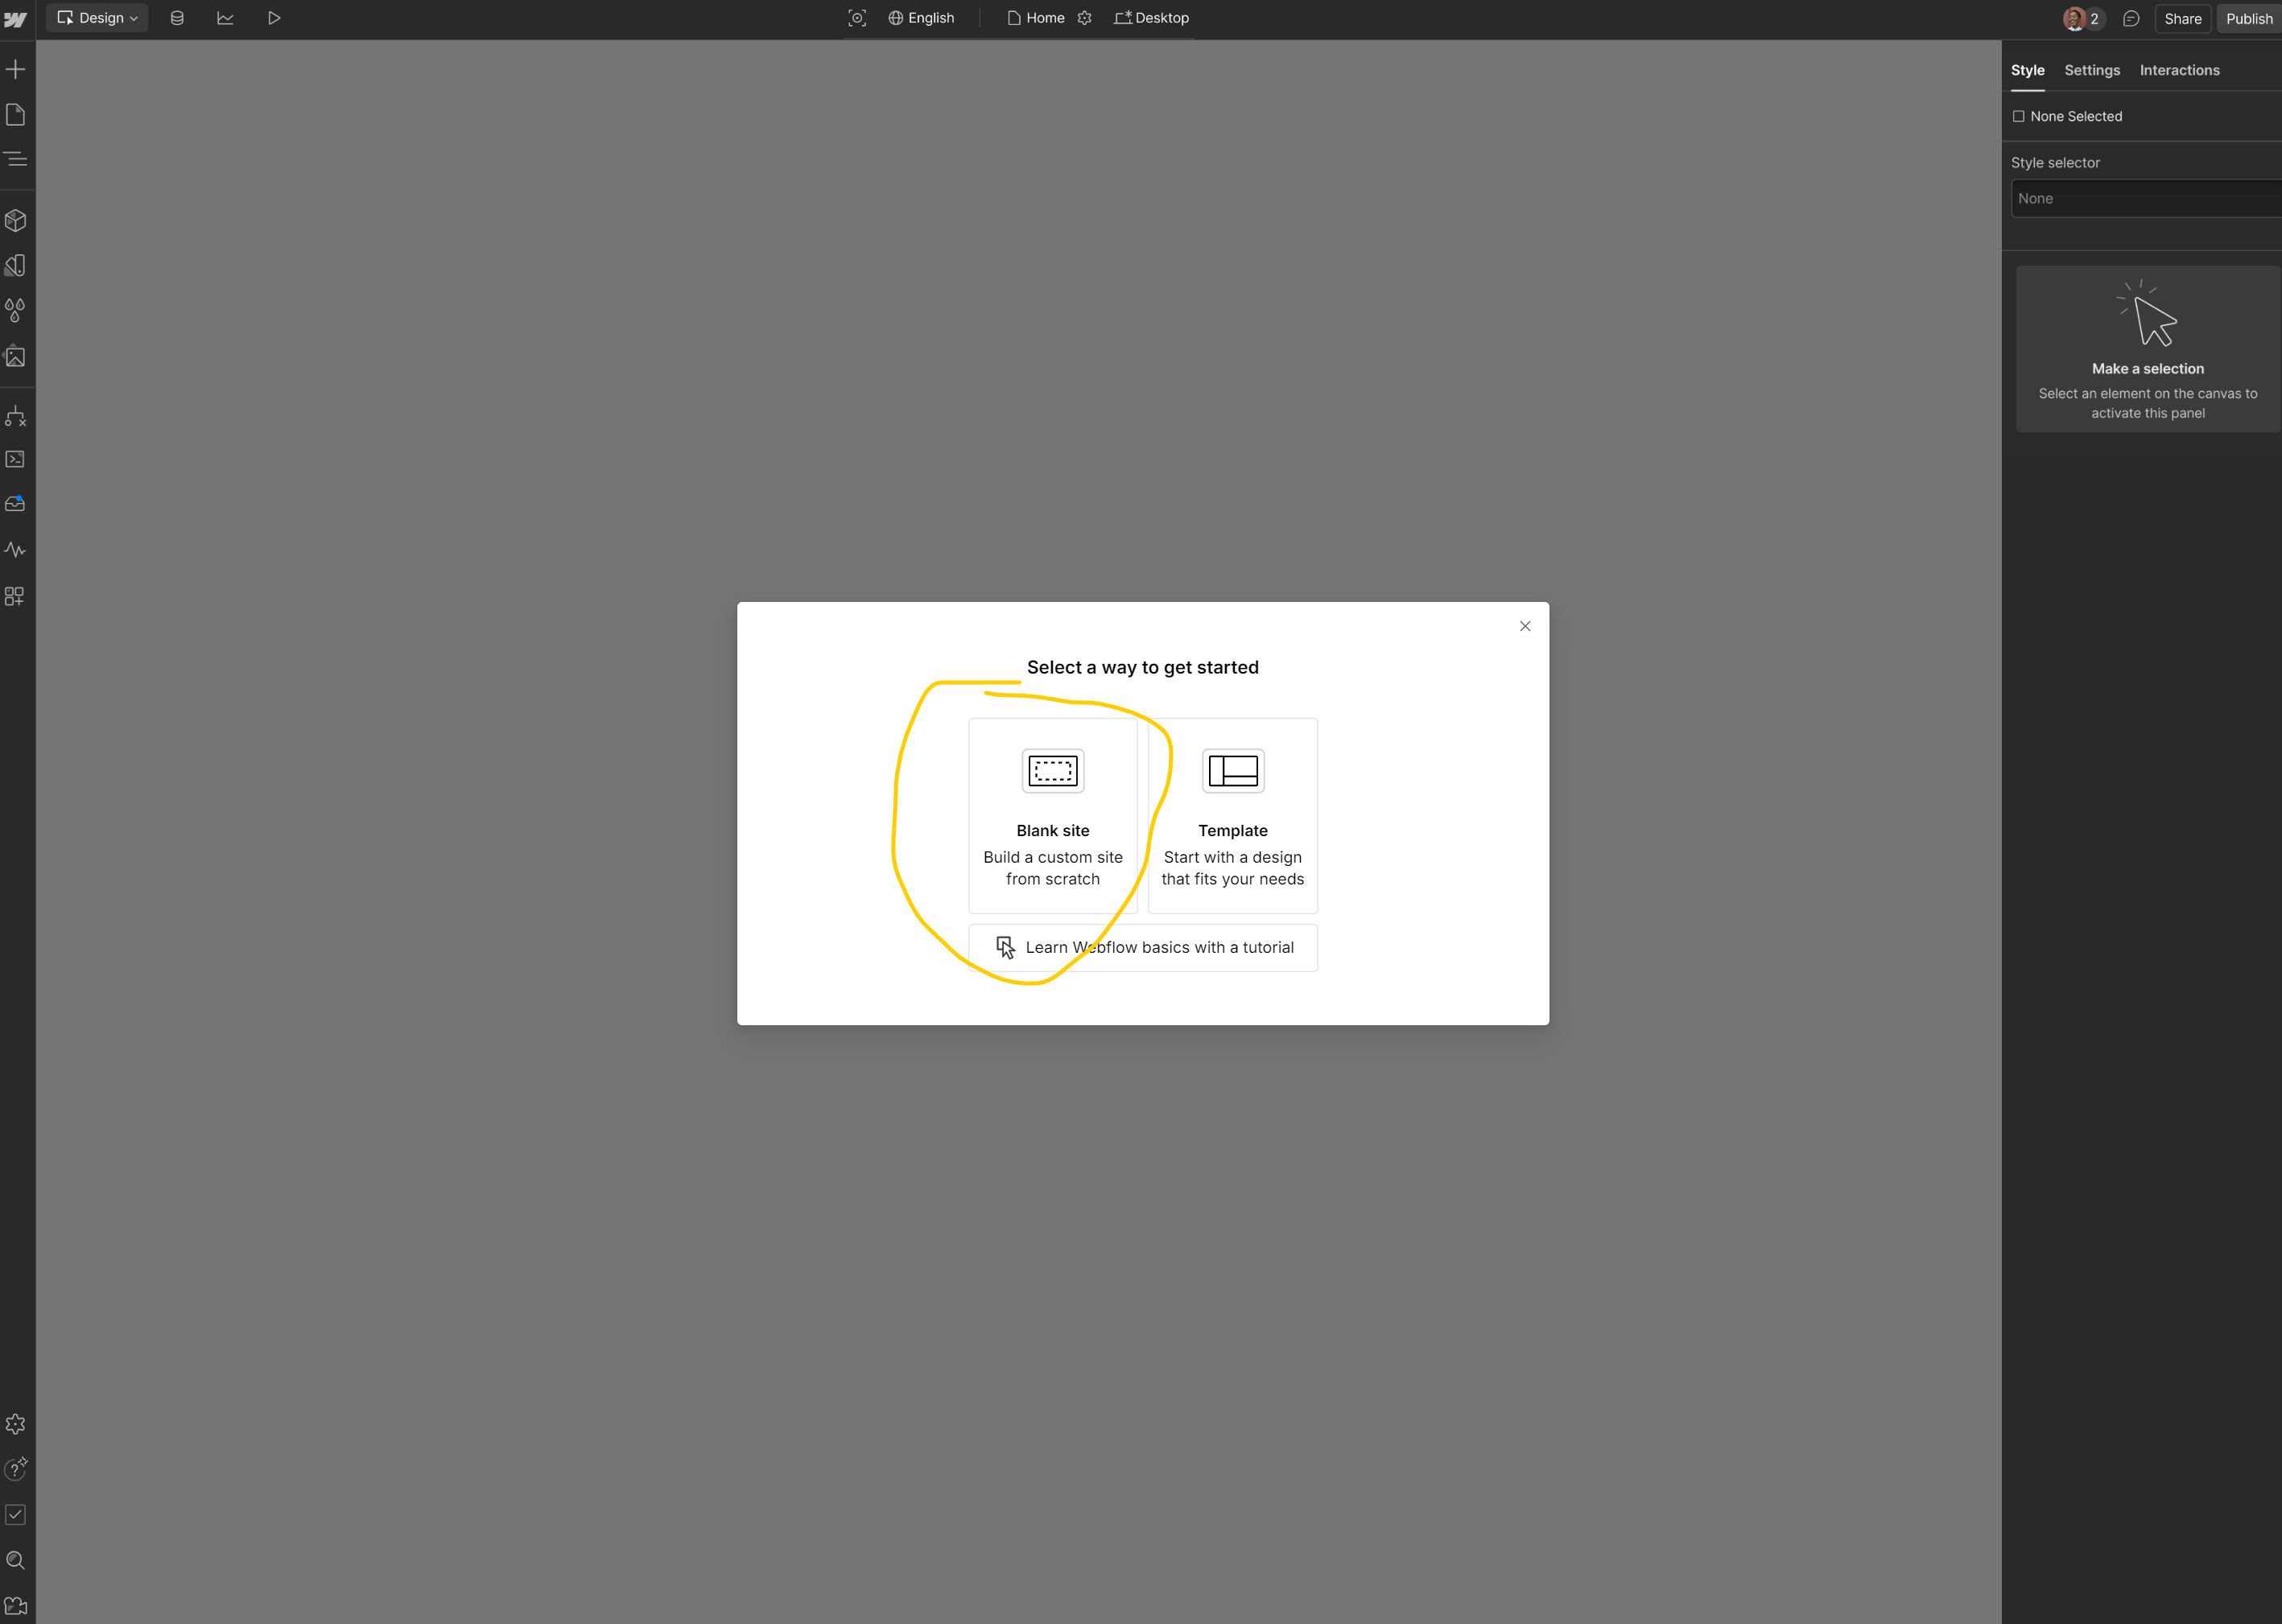
Start by listing some forbidden forms of the keyword “destination site” according to the rule 5. Then, find out if there’s a chance to incorporate the keyword without making any extra assumptions, according to the rule 2. Keep it short. Adjust the initial settings like the site’s name and default typography during the setup to lay the foundation for your new destination site.
Import Content to Webflow CMS
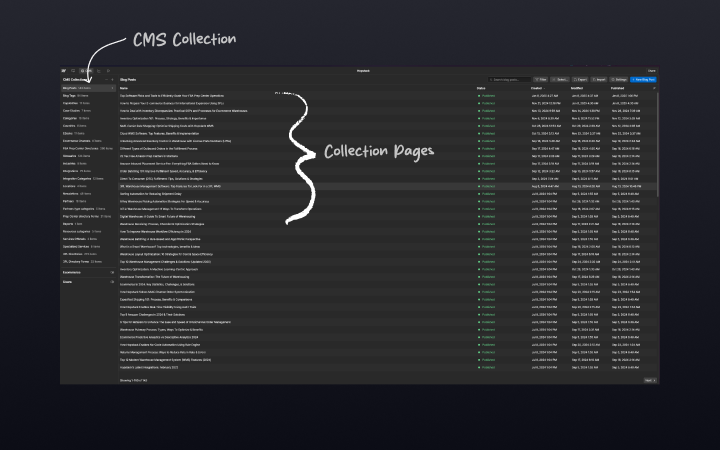
Webflow allows users to import content directly into its CMS, making the transition from other platforms seamless. This feature helps in maintaining the integrity and structure of your content as you build your new site.
Designing Your Webflow Site
Designing your Webflow site is a crucial phase where you bring your vision to life. Understanding design principles and utilizing Webflow’s visual design tools can help you create a stunning, user-friendly website.
Customizing Templates
Choosing the right template is essential as it significantly impacts the look and feel of your new site in Webflow. Assess how well a template represents your brand and ensure it can be easily modified to fit your specific design requirements.
Consider the template’s responsiveness to ensure a seamless experience on all devices, enhancing user satisfaction and engagement.
Rebuilding Pages
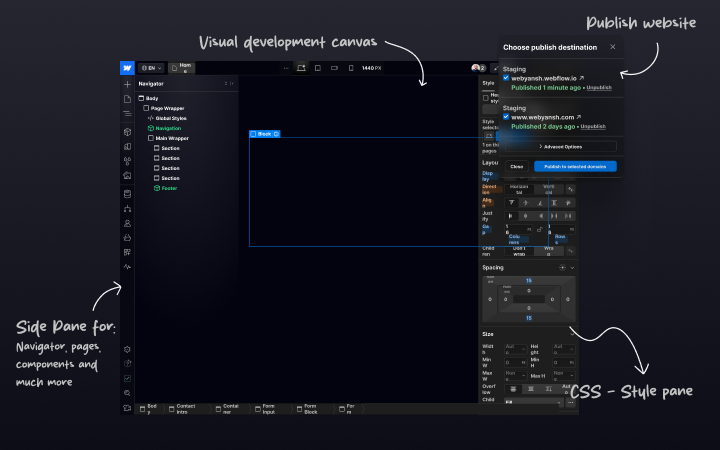
Rebuilding pages in Webflow involves understanding how HTML and CSS structure pages, which is essential for a successful transition. A gradual rebuild approach allows you to complete high-priority pages first, minimizing downtime and maintaining website functionality.
Using a CSS style guide during the rebuild helps maintain consistent design and enhances page performance. Consistent design across your website ensures a cohesive look and feel, improving the overall user experience.
Configuring Your New Hosting Server
Configuring your new hosting server is an essential step to ensure that your Webflow site runs smoothly. This involves setting up the server environment to meet the specific requirements of your new site.
Updating DNS Settings
Redirect your domain to the new server by accessing your domain registrar and changing the nameservers to those provided by your new hosting service. Modifying the A records and CNAME records updates the DNS settings, ensuring your domain points to the new hosting server.
Keep in mind that DNS changes can take anywhere from a few minutes to 48 hours to propagate fully across the internet. Be patient and plan accordingly to avoid disruptions.
Testing Your Live Site
Before going live, it is crucial to test your site thoroughly. Verify that all links, images, and text are functioning correctly to ensure a seamless user experience. Perform checks on critical functionalities like forms, navigation links, and media loading, including the site url.
Using SEO tools like Screaming Frog and SEMRush can help detect broken links and ensure that your site remains functional post-migration. Conducting a comprehensive audit post-migration helps identify any broken links, missing content, or SEO-related issues that need addressing.
Final Steps for a Successful Migration
As you near the completion of your migration, it’s important to perform meticulous final checks to ensure everything functions correctly after the transition. This includes verifying redirects and checking for broken links.
Update URLs and Internal Links
Updating internal links to the new URL structure is essential to prevent broken links and maintain site navigation. This step enhances user navigation and avoids reliance on redirects, which can slow down page load times.
Revise all internal links to point to the new URLs to maintain site usability and SEO value. Avoiding reliance on redirects contributes to a faster page load time, improving user experience.
Perform a Full Site Audit
Conducting a full site audit after site migration is crucial to ensure that all aspects of your site are functioning correctly. This includes checking for broken links, missing meta tags, and accessibility issues. A thorough audit helps identify any errors that may have occurred during the migration process and ensures that your site is optimized for search engines and user experience.
Use tools like Screaming Frog, Ahref and SEMRush to perform a comprehensive audit. These tools can help you detect broken links, orphaned pages, and other SEO-related issues that need addressing.
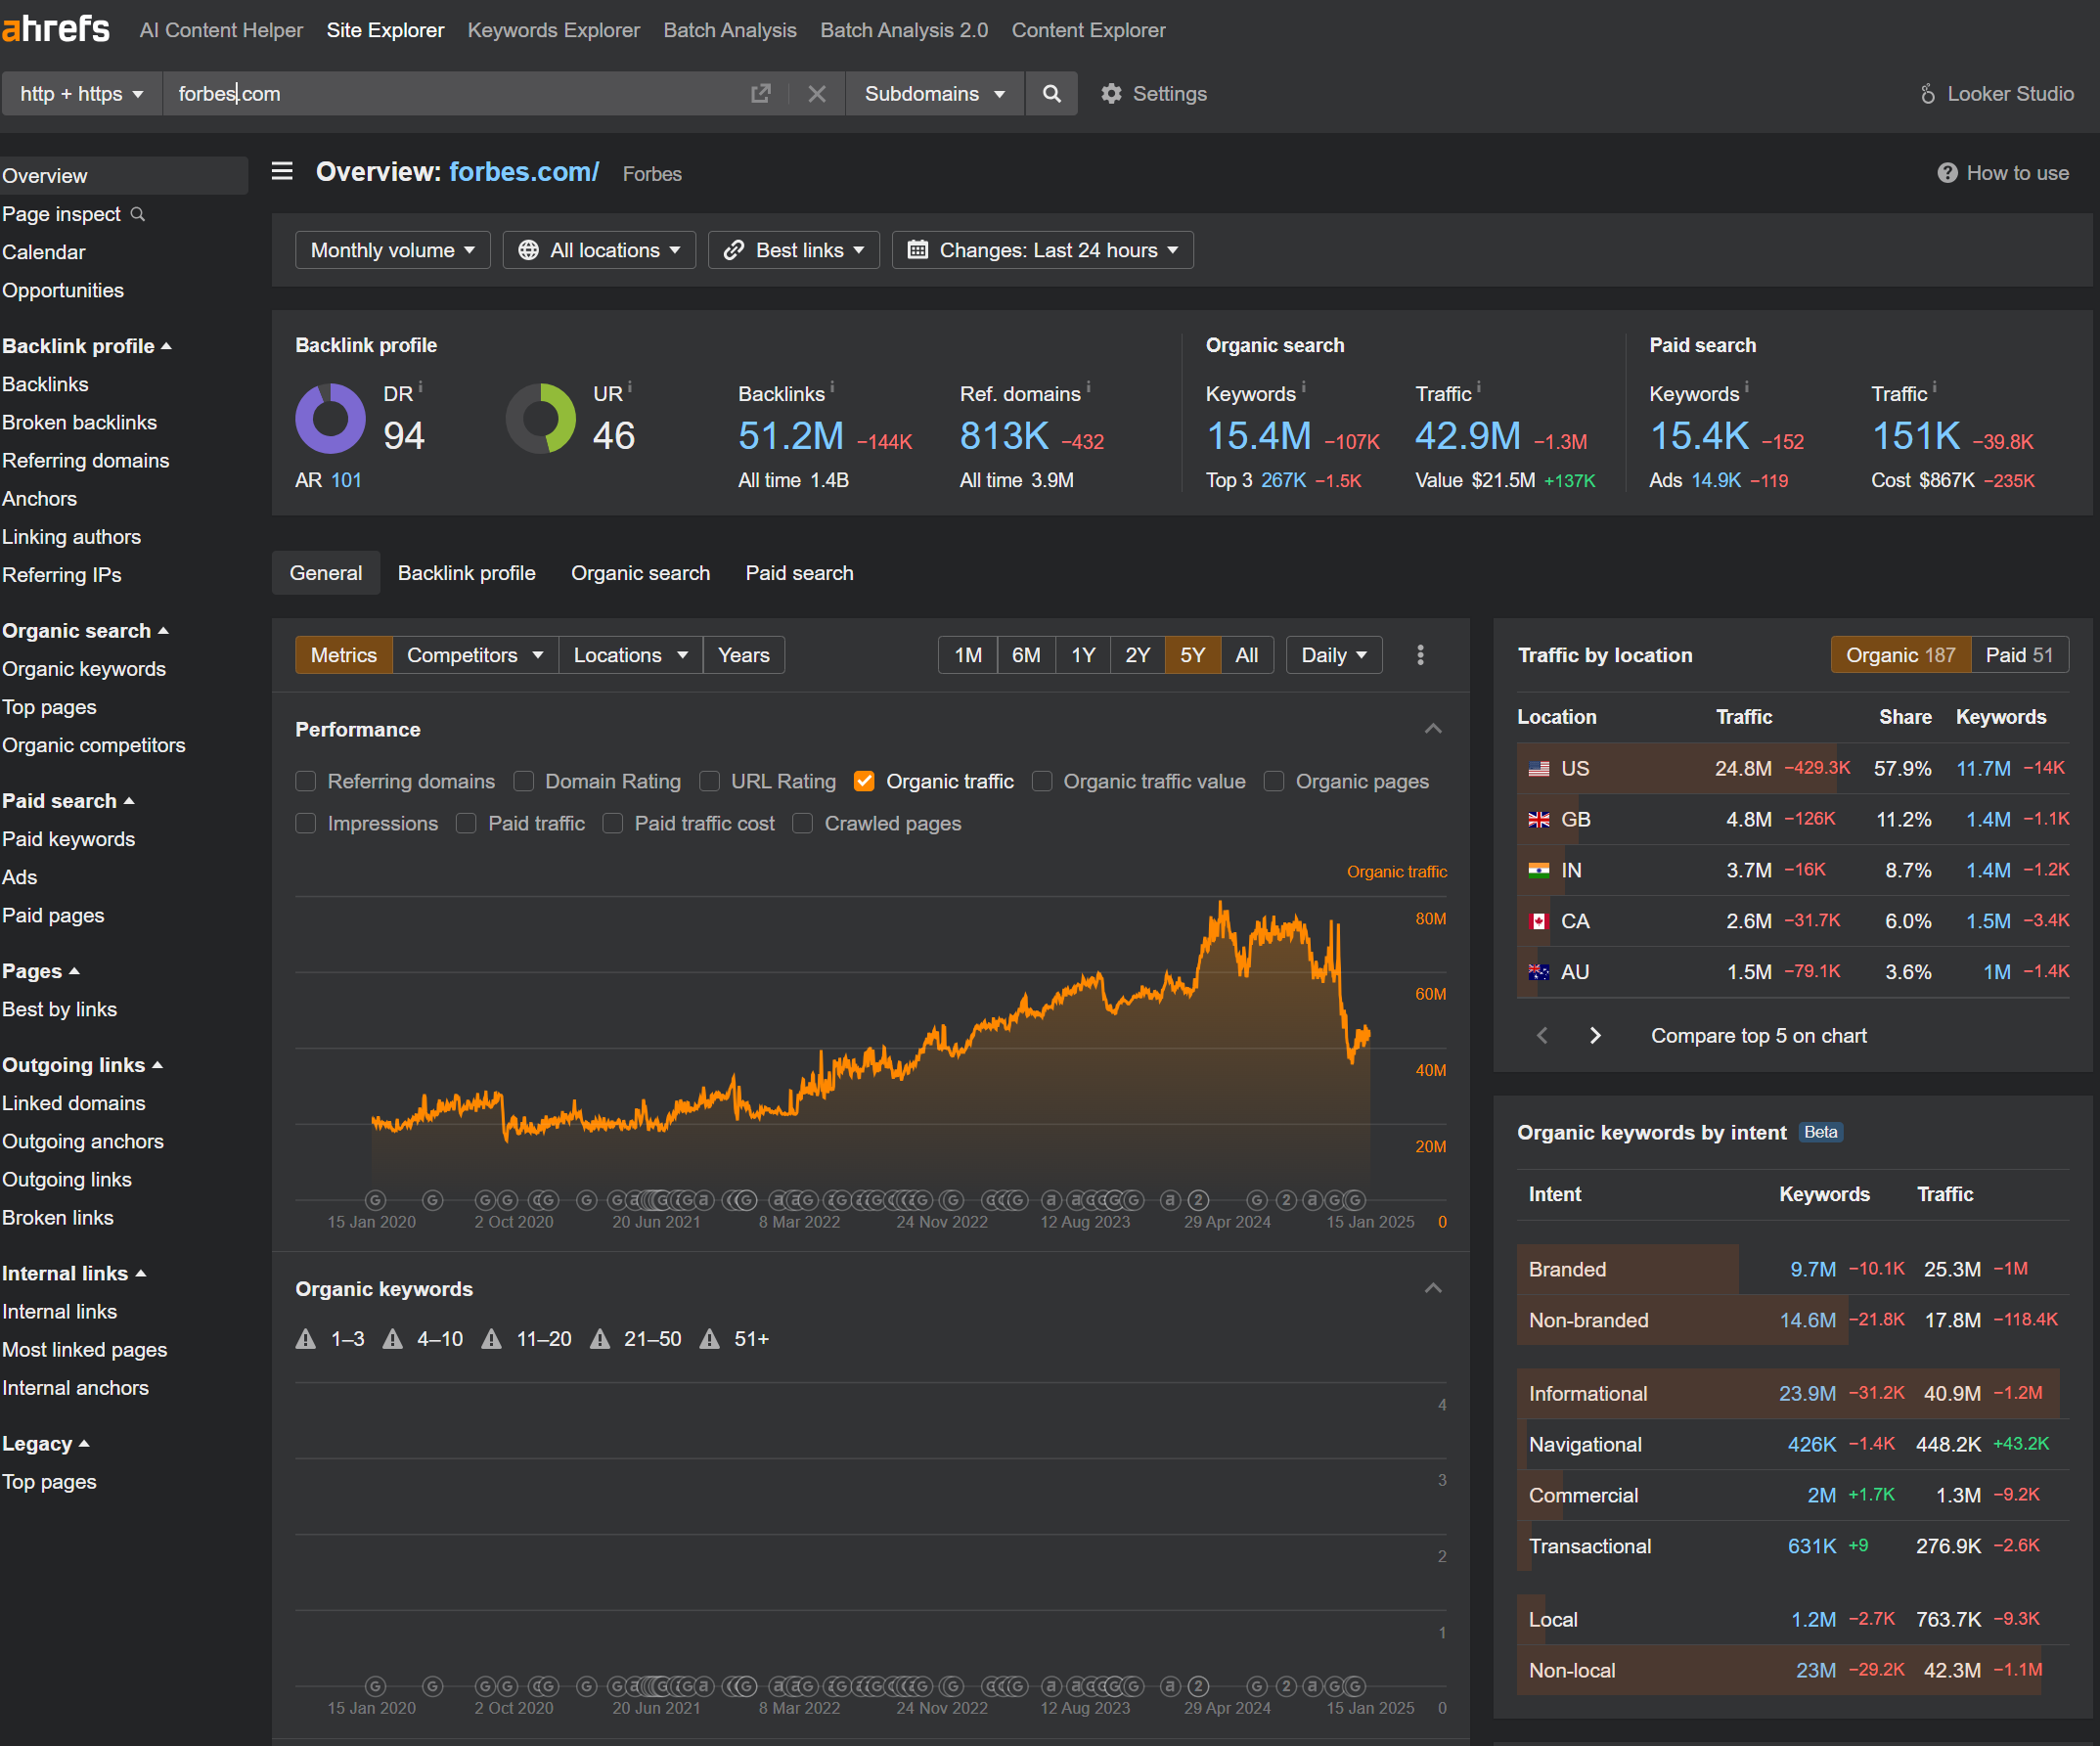
Regular performance reviews post-rebuild are essential for ensuring ongoing optimization and relevance of your website.
Summary
Migrating your WordPress site to Webflow can seem like a complex process, but with careful planning and execution, it can be a smooth and rewarding experience. By understanding the basics of both platforms, preparing adequately, exporting content correctly, setting up your new Webflow project, designing your site thoughtfully, configuring your new hosting server, and performing final checks, you can ensure a successful migration.
Remember, the key to a seamless migration is meticulous preparation and thorough testing. Regular performance reviews and audits post-migration will help maintain your site’s functionality and SEO integrity. Embrace the change and enjoy the new possibilities that Webflow brings to your website design and management.
Migrating your WordPress site to Webflow enhances visual appeal and simplifies management, particularly for users with limited coding abilities. This transition can lead to a more user-friendly experience overall.
To effectively backup your WordPress site before migration, use a reliable backup plugin such as UpdraftPlus for automated backups or manually export your site files through an FTP client and phpMyAdmin to ensure all data is secure.
The best way to export content from WordPress is to use the built-in export tool, which generates an XML file containing posts, pages, and comments. For a more thorough backup, utilize FTP and phpMyAdmin for a manual export.
To update DNS settings for your new Webflow site, access your domain registrar and change the nameservers to those given by Webflow. Additionally, update the A records and CNAME records to direct traffic to your new hosting server.
During a full site audit post-migration, verify that all links, images, and functionalities operate correctly while using tools like Screaming Frog and SEMRush to identify broken links and missing meta tags. This will help ensure a smooth user experience and maintain SEO integrity.

